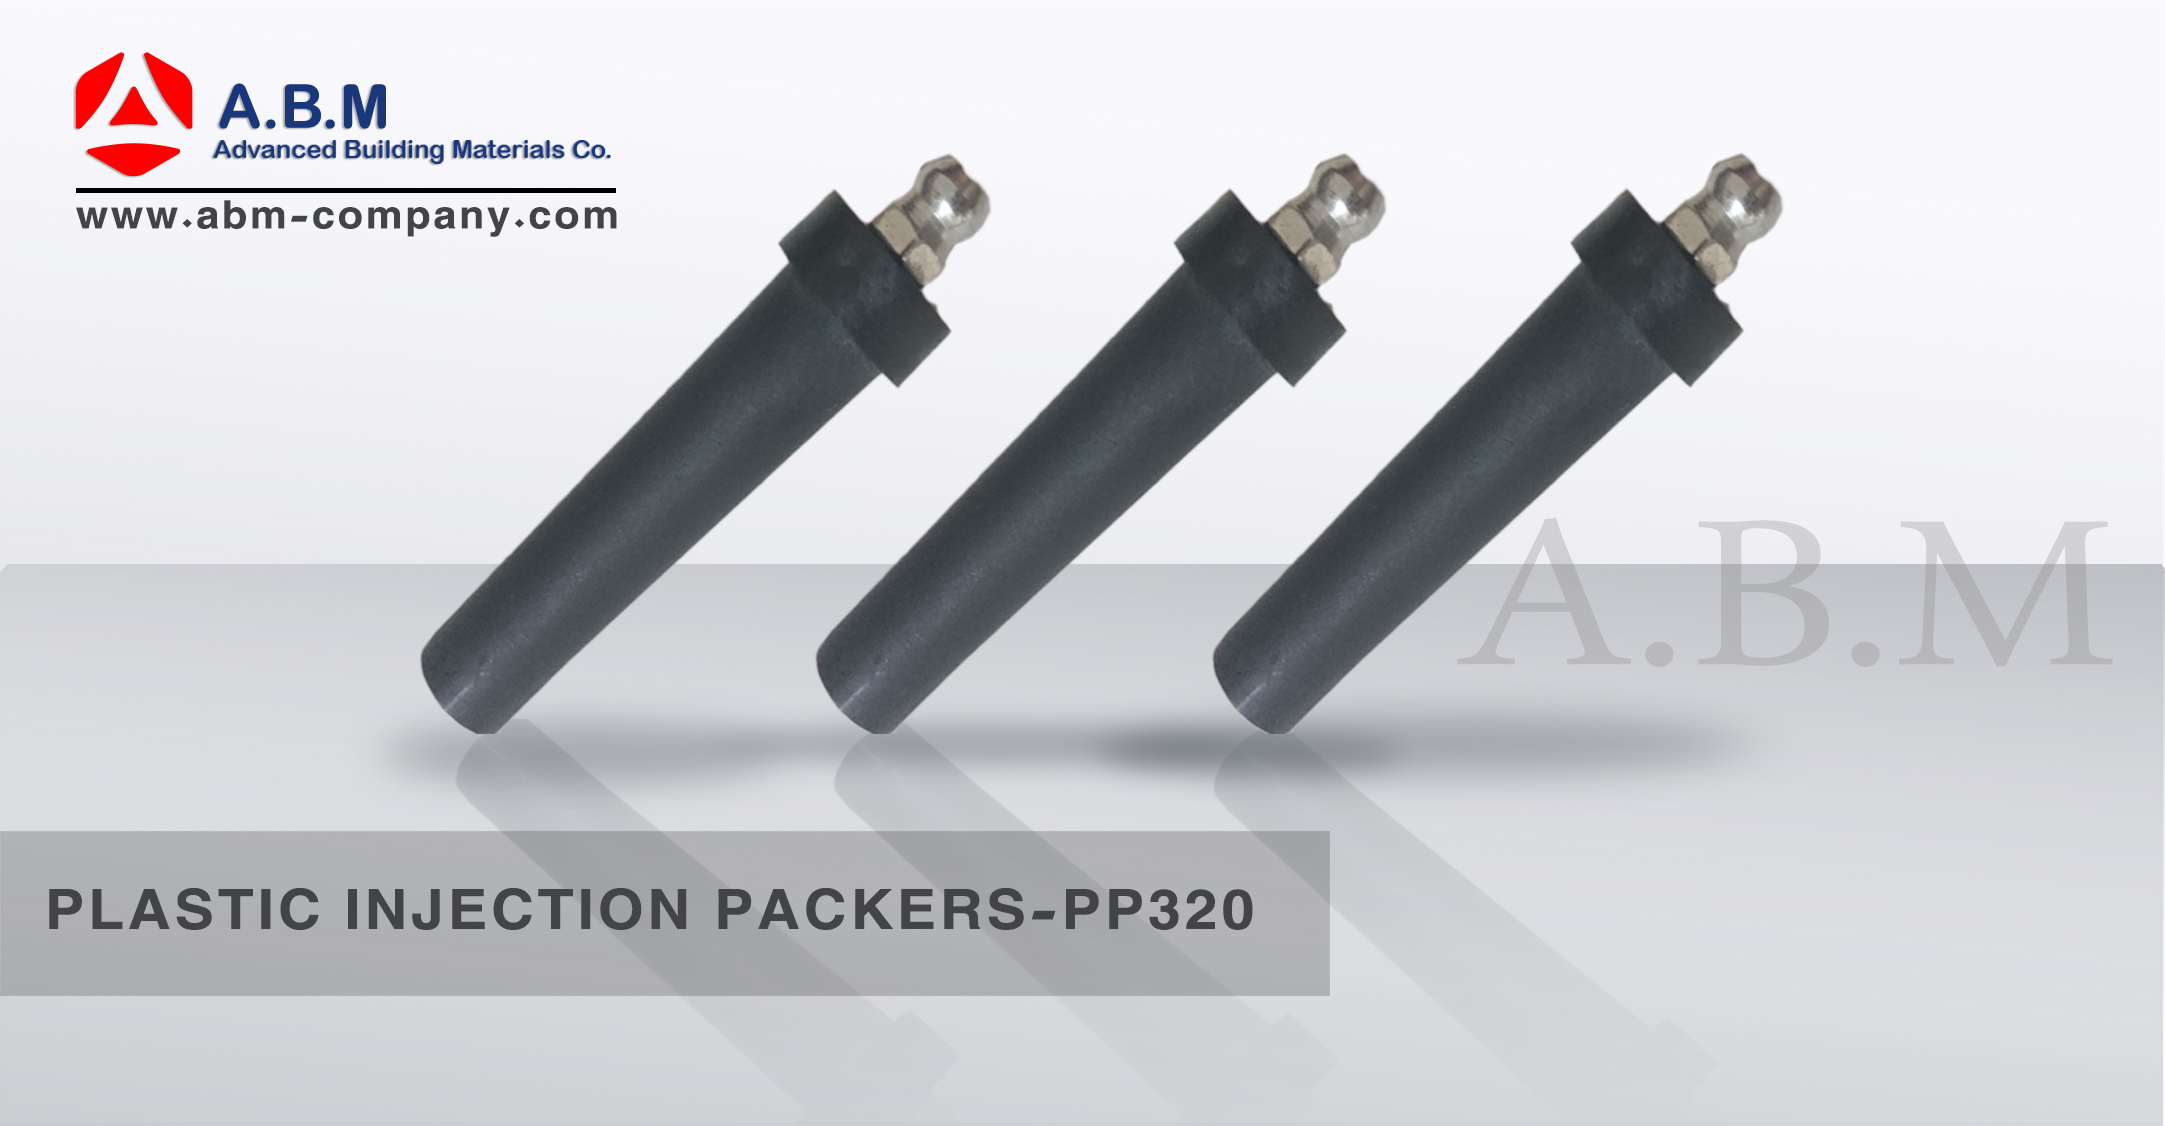
PLASTIC INJECTION PACKERS- PP320
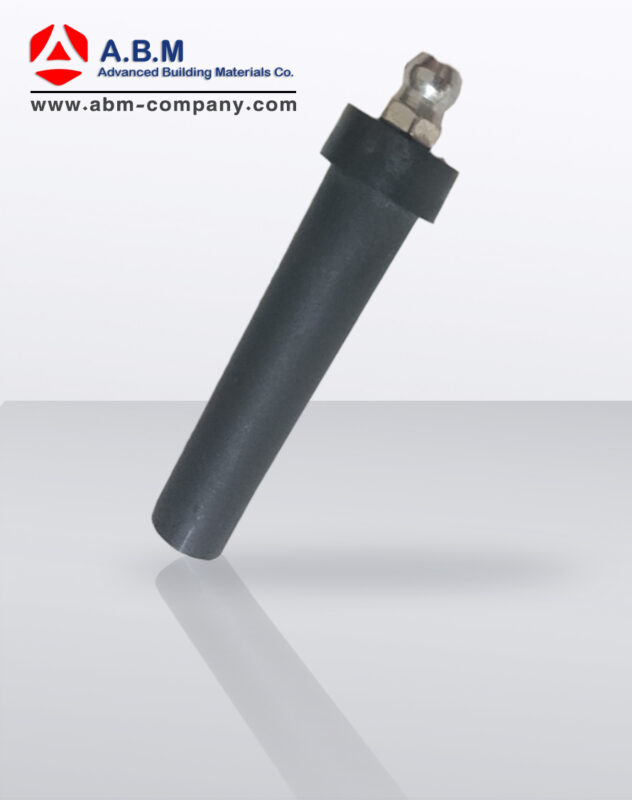
Model PP320
10mmx60mm
There are two primary categories of packers available
DRILLED PACKERS:
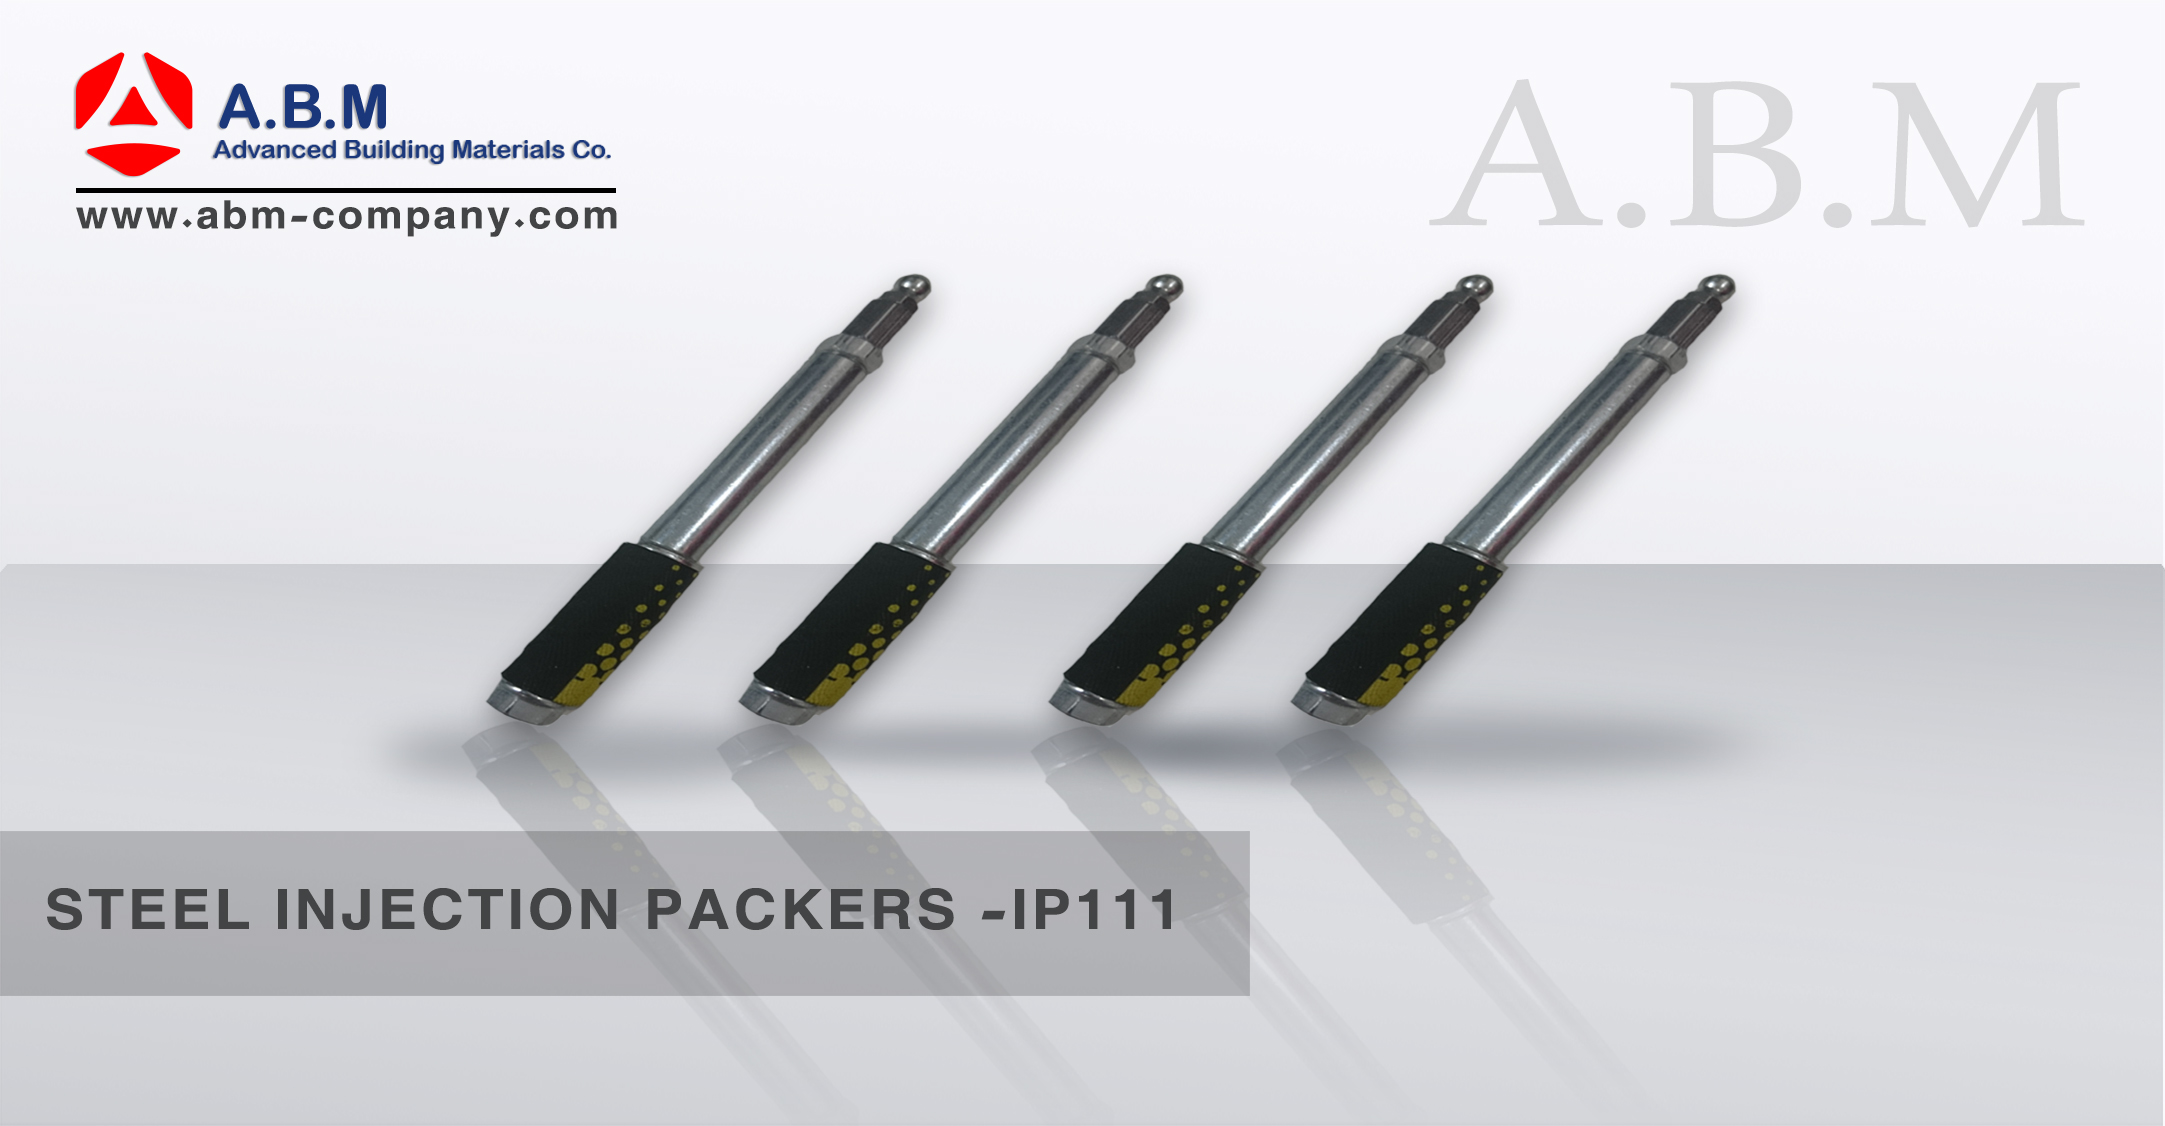
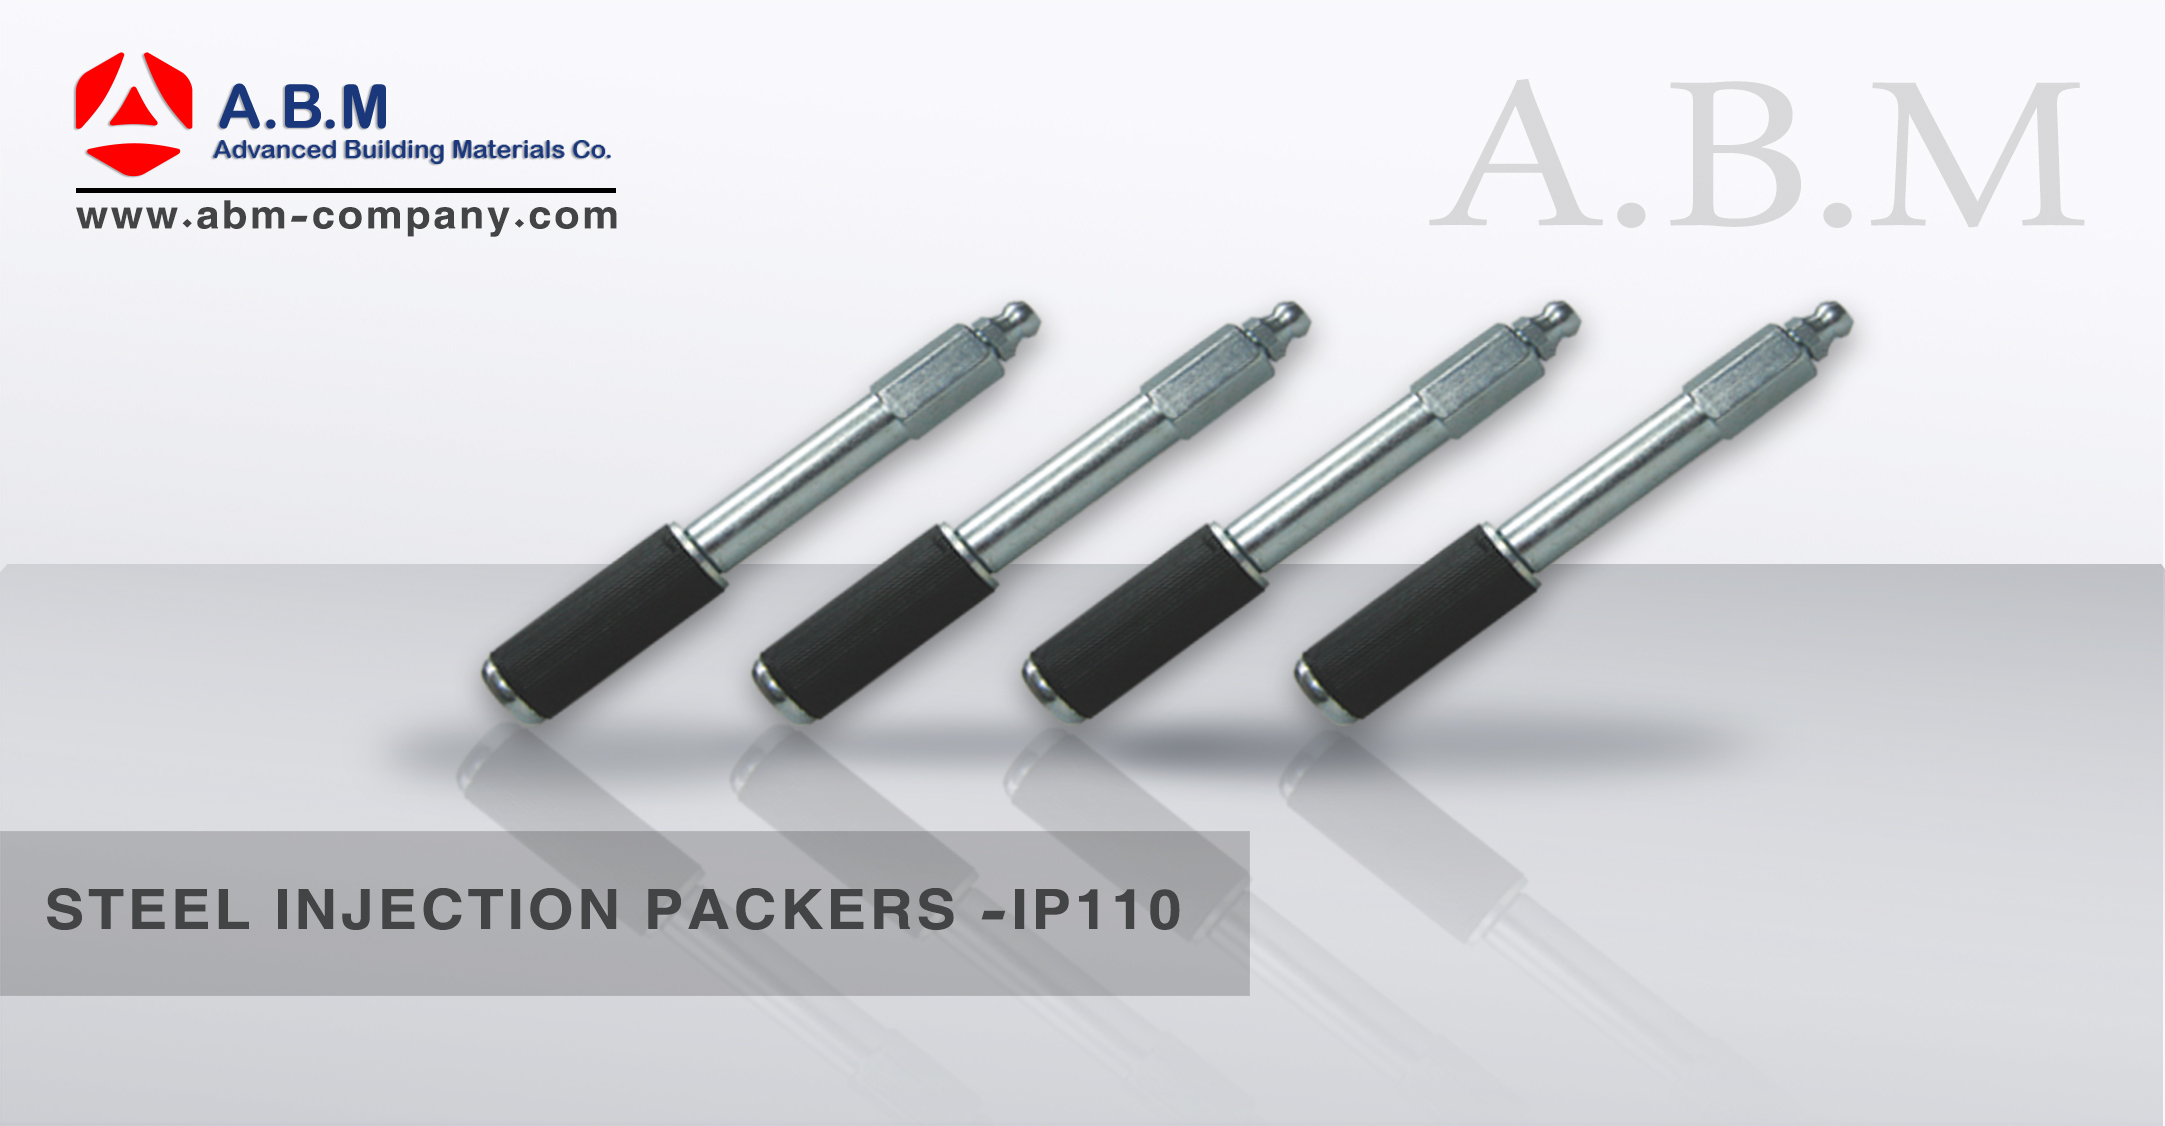
also, called as ‘premium packers’ which are typically used for Polyurethane injection and high pressure epoxy injection. Made of metal and an expandable rubber sleeve to minimize concrete spall and packer blow outs. This type of packer can be used on dry and wet conditions, the flat head type can be of advantage in high volume applications and it offers a superior connection which is helpful for single operator injection and large applications.
ADHESIVE PACKERS:
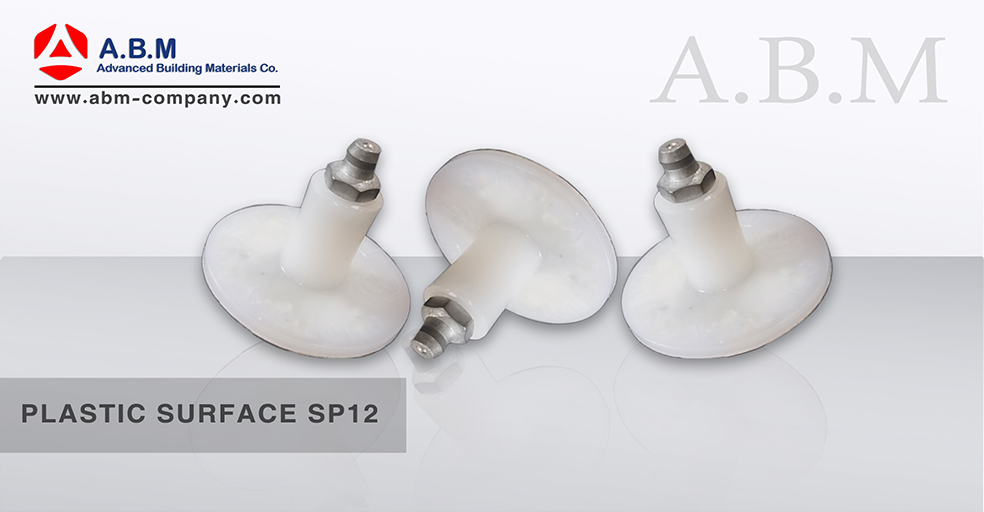
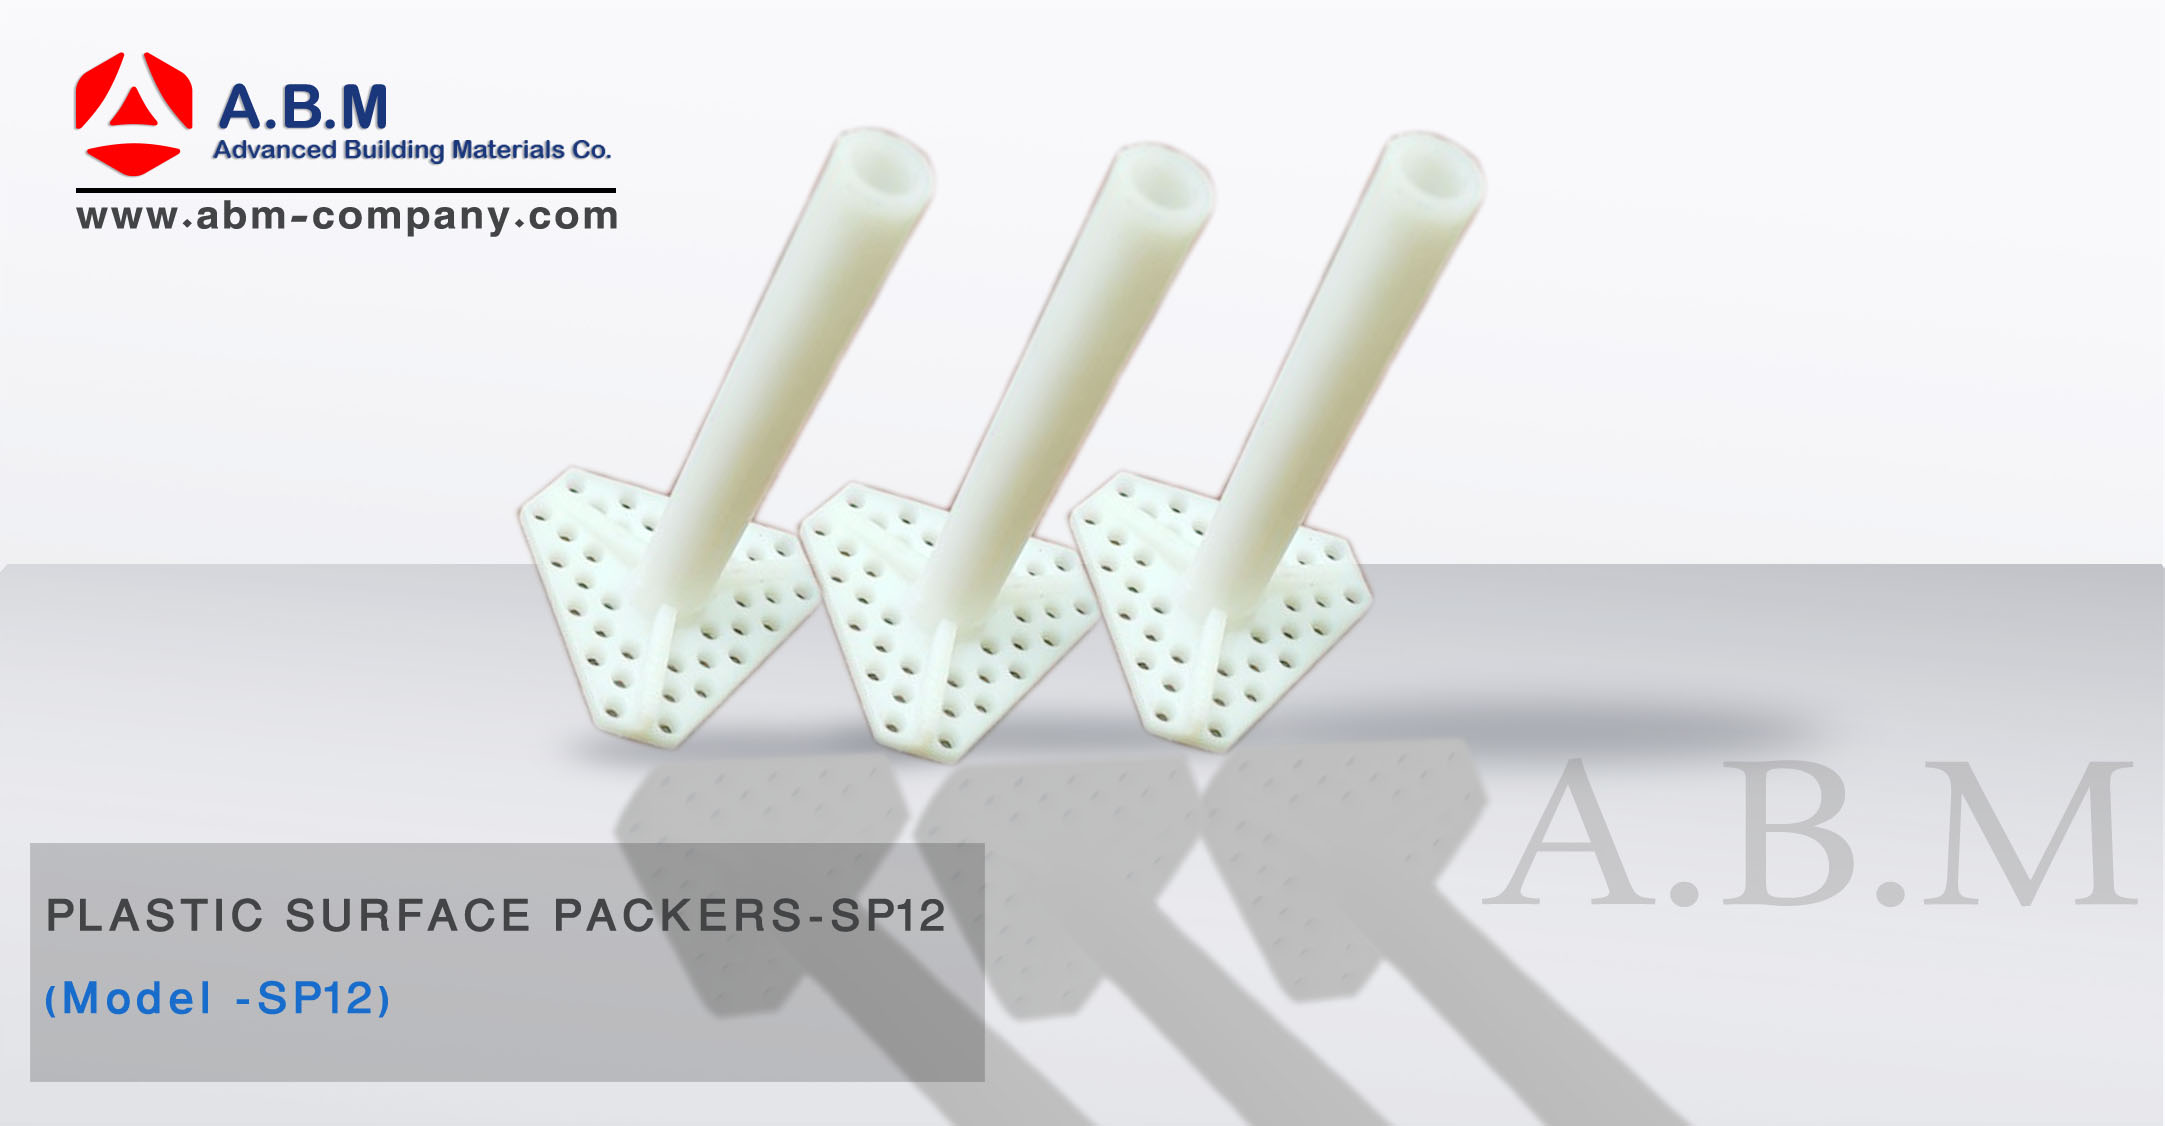
also, called as ‘surface ports’ used for epoxy injection at low injection pressures. They are glued to the concrete surface usigan epoxy adhesive. The port inlet is fitted with non-return nipples that prevent the epoxy to flow back. This type of packer is normally used on dry condition for hairline cracks to wider cracks in dry conditions.
EPOXY INJECTION SYSTEMS:
are primarily designed for structural concrete cracks and joint repairs., epoxy injection resin bonds or welds cracks as narrow as 0.002 inches together and restores concrete soundness and integrity.
This method consists of installing injection ports into drilled holes at close intervals along the horizontal, vertical or overhead cracks and pressure-injecting epoxy, Cracks injected with epoxy need to be dormant and not actively leaking.
while moist cracks can be injected, water or other contaminates will reduce the effectiveness of the epoxy repair, epoxy resin technology is used for structural concrete repairs that once the resin cures properly, the repair is actually stronger than the concrete itself.
Tensile strengths for epoxies exceed 5,000 psi. For this reason, epoxy injection is considered and Integrity repair, epoxy injection is a rigid, full depth repair where the injected crack will be stronger than the adjacent concrete.
Epoxy injection applications are commonly found in many concrete structures such as load bearing columns, tunnels, bridges, parking structures, and many more structural substrates.
POLYURETHANE INJECTION SYSTEMS:
are designed for concrete crack and joint waterproofing applications as commonly found in most concrete and masonry structures.
Polyurethane injection resin is ideally suitable for stopping water leaks in concrete and masonry structures with a used of an injection pump., the system only reacts when it comes into contact with water, producing rigid or flexible foam, the end product, injected under pressure, neither shrinks nor swells.
Good compression strength is obtained in a very short time. Polyurethane resin is used for expansion joints and concrete cracks that are actively leaking. Hydrophobic resin pushes water when it comes in contact and reacts with this chemical.
Polyurethane injection provides a triple seal within a concrete crack or void, compression seal, mechanical seal bonding to the pores ofthe concrete; and a flexible elastomeric seal that enables the concrete crack to remain sealed during seasonal temperature changes and soil movements.
Advantage:
– Its high-quality packers because it withstands high injection pressures without leaking and moving out of its drill hole.
– Now, realistically speaking even the best packer may slightly leak at the connection at extreme pressures. But there is the difference between a drip and a gush.
– High toughness rubber, not easy to be fragile.
– High quality plastic, not easy to be bent.
– ABM-PP320 packers are mostly PVC and an expandable to minimize concrete spalls and packer blow
outs.
Properties:
– Hot sale high pressure injection nozzle.
– Endurable in high pressure, good water proof effect, stable quality, and convenient operation.
Areas of Application:
– Subway, tunnel, culvert, activated sludge tank, concrete crack seepage, leakage stop under water.
– Basement, underground garage, underground passage, crevice in concrete slab.
– Through-wall pipe, corner, leakage of water.
– Concrete structures leaking, Board structure cracks.
– Injection for the PU grout and epoxy resin grout.
Application Instructions:(Adhesive Packers):
– Identify and mark the length of the crack area to be injected, then open the crack by grinder.
– Clean the substrate with wire brush at a distance of 25mm on both sides of the crack. Wire brush is recommended
because grinders often leave dust in the crack.
-Measure the width of crack in order to determine the correct product to be injected.
-Once crack is exposed, clean and dry; you may adhere to adhesive packers.
-Adhesive packers or surface ports are recommended for wide or surface cracks and clear in nature cracks; and when the substrate thickness is small and will be dependent on a slow operating injecting pressures.
– Adhesive packers are typically placed at 20mm spacing, with increase spacing up to 50mm on wider cracks.
-The packers are secured to the crack with epoxy paste/sealer.
-Prepare and mix the two components of epoxy paste1:1 ratio until achieving a uniform homogeneous gray compound.
-Using a spatula, apply the mixed epoxy paste across the surface of the crack on a band of 50mm. Be sure not to cover the bottom opening of the packer with paste as this will prohibit the flow of resin into the crack. -Once the epoxy paste is fully cured, you are ready to connect the injection pump.
-On a clean container, mix the two components of epoxy resin with a slow speed electric drill fitted with mixing paddle until a homogeneous mixture is achieved.
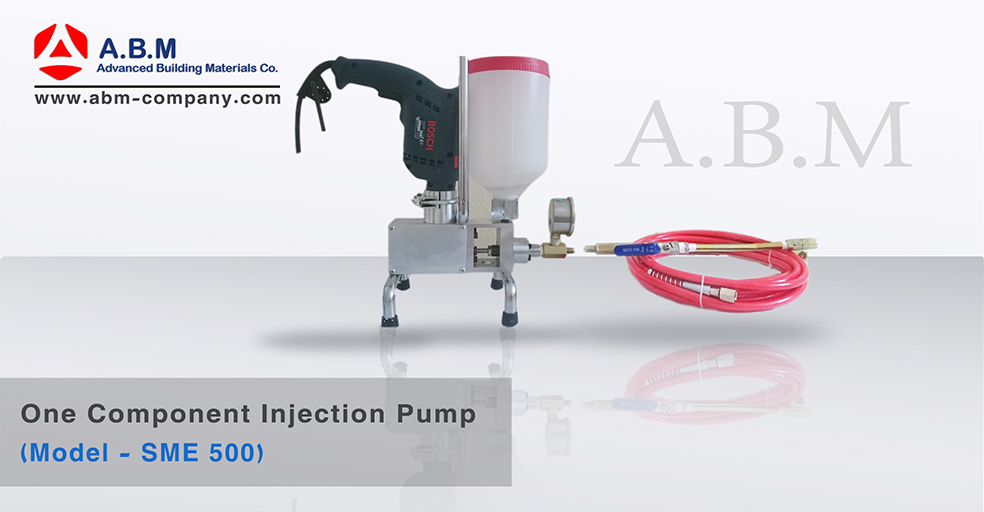
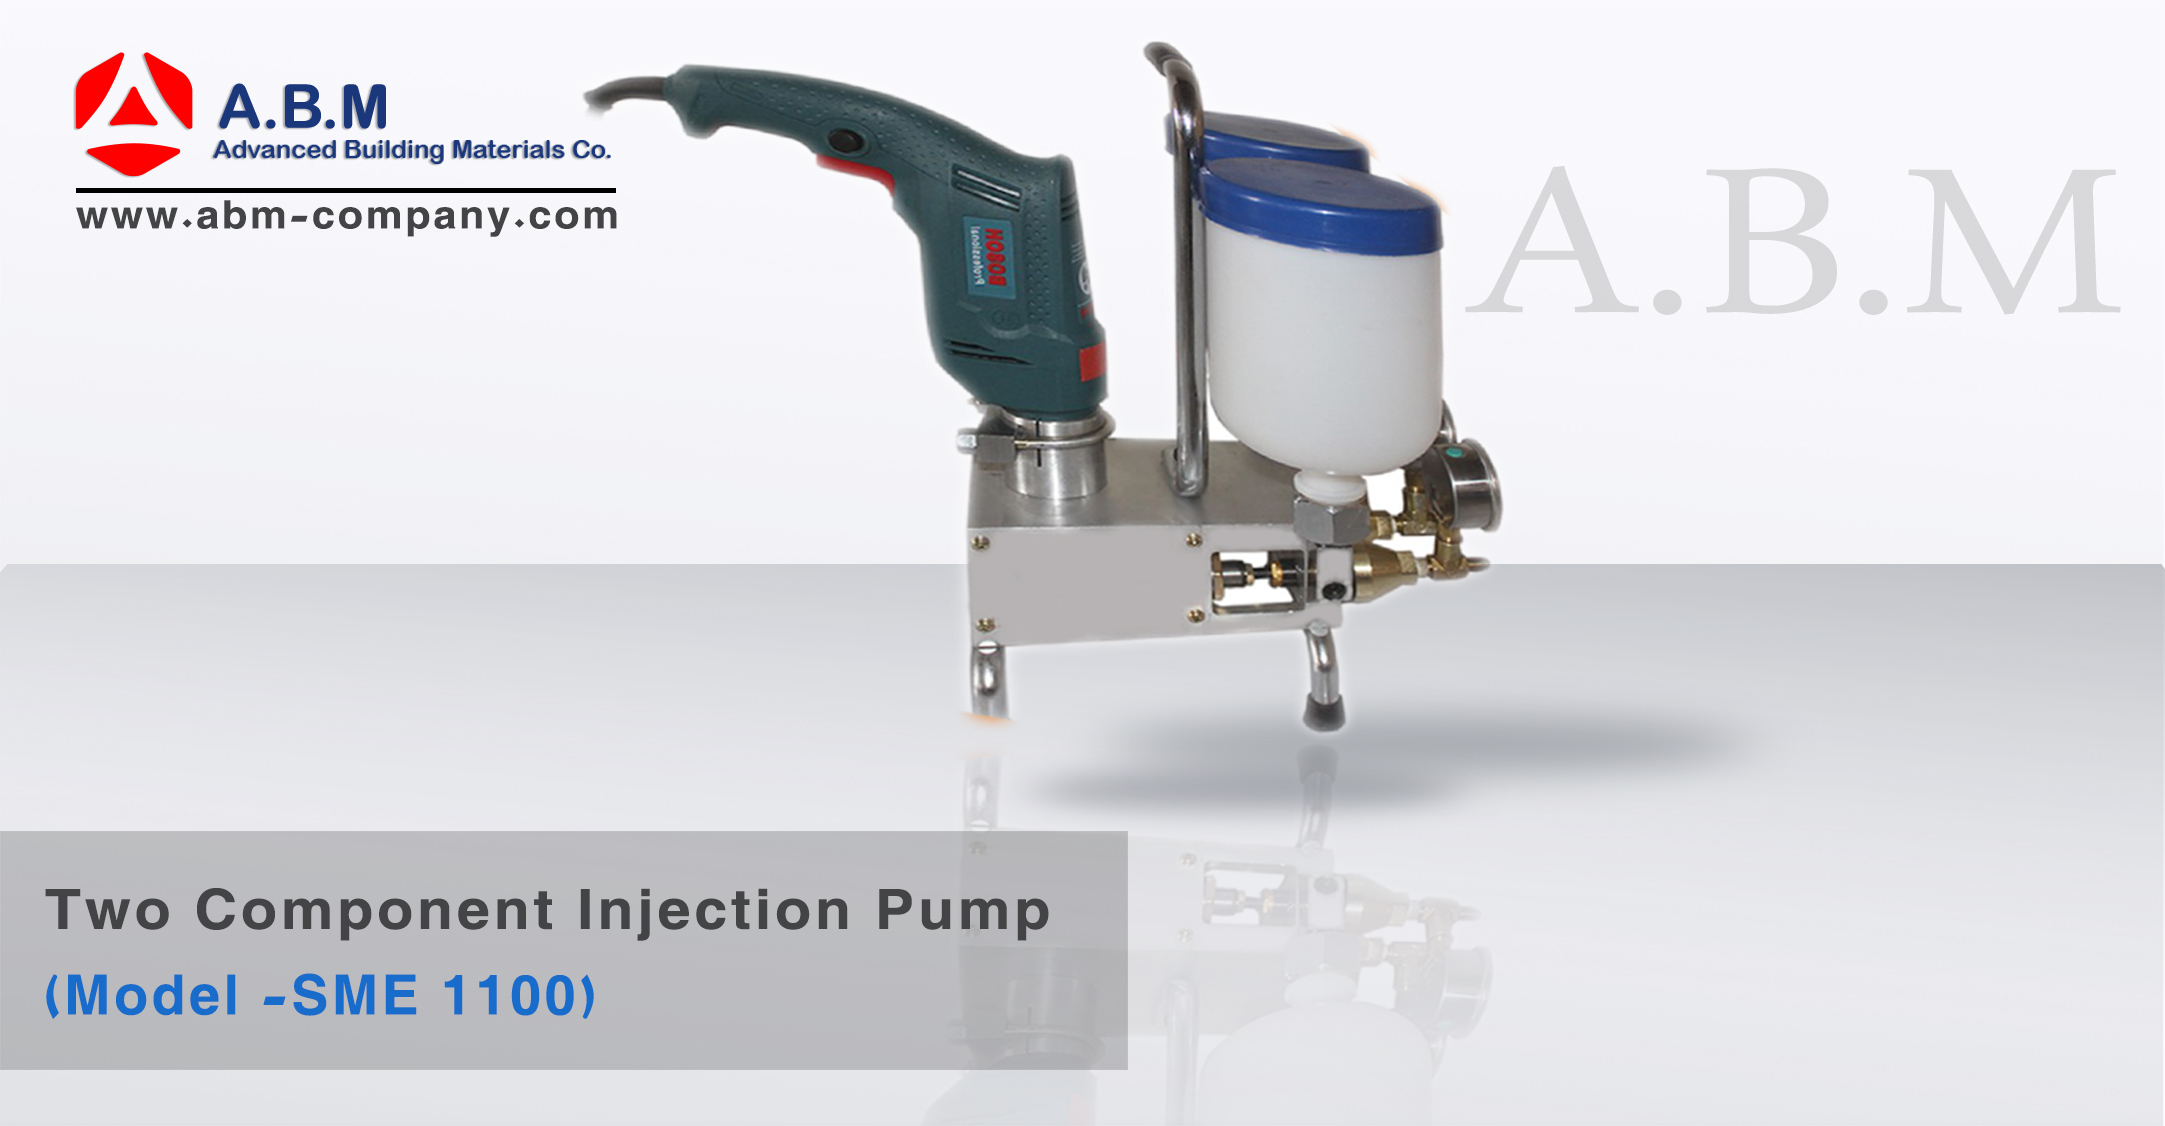
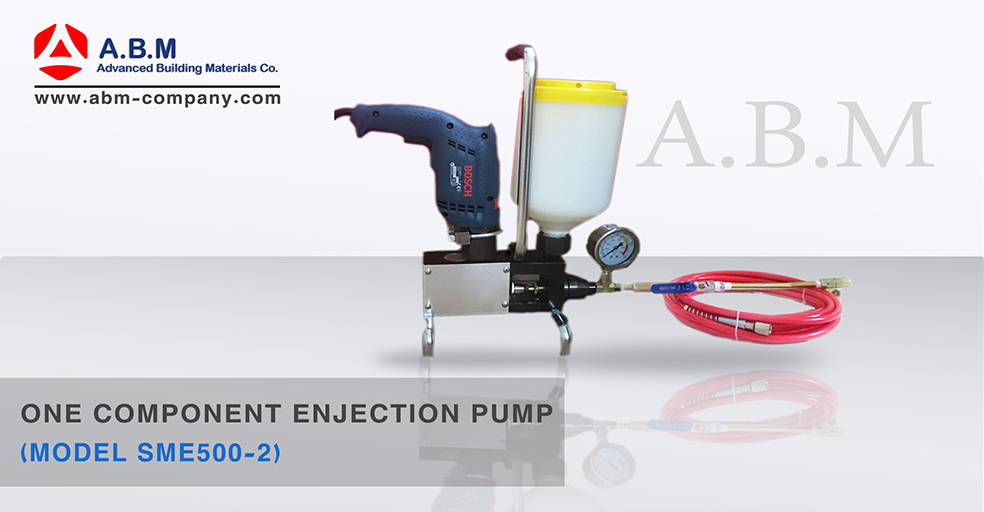
– Pour the mixture of epoxy resin onto the tank of the Injection Pump ready to inject.
-On initial injection process, pump out the few drops of material on a separate container so as to make sure material is oozing from the nozzle properly.
-Start injecting at the lowest packer of the crack length, while leaving the above packer open.
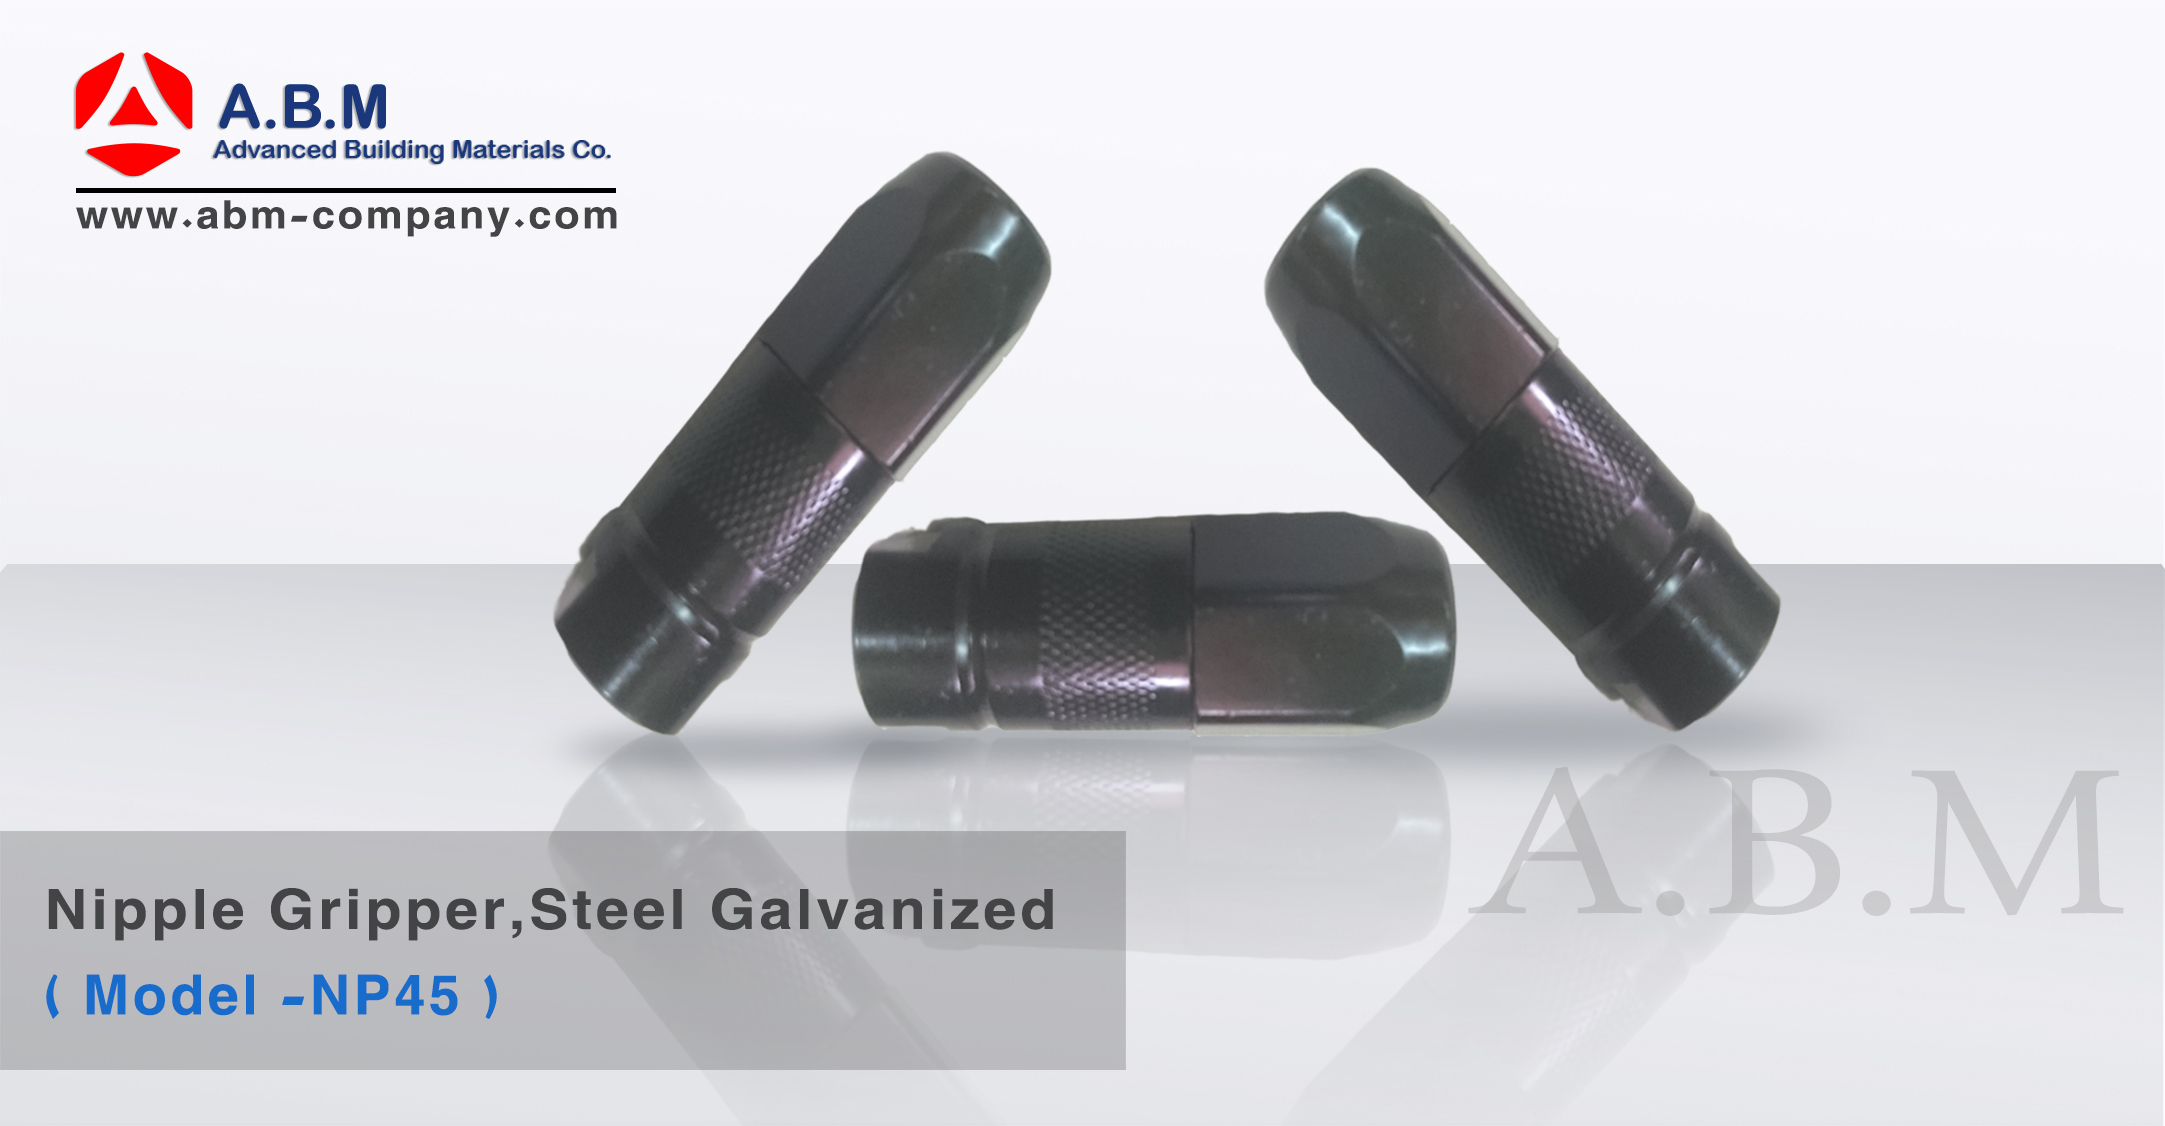
-Connect the injection pump onto the adhesive packer and commence injection process.
-Vertical cracks are typically injected from the bottom up, while horizontal crack injections are commonly initiated at the point of widest crack width.
-Continue to pump the epoxy resin into the adhesive packer until you see material exiting from the adjacent packer. At this time, closed the adjacent packer with nipple and fix the injection pump and continue the injection process until the length of the crack is fully injected.
-After all the packers/ports are injected, it is recommended to allow adequate time for the epoxy resin to completely cure.
-Adhesive packers/ports can be removed by grinding.
Application Instructions :(Drilled Packers)
-Identify and mark the length of the crack area to be injected.
-Clean the substrate with wire brush at a distance of 25mm on both sides of the crack.
-Wire brush is recommended because grinders often leave dust in the crack.
-Measure the width of crack in order to determine the correct product to be injected.
-Once crack is exposed, clean and dry, Prepare and mix the Two components of epoxy paste in a 1:1ratio until achieving a uniform homogeneous gray compound.
-Using a spatula, apply the mixed epoxy paste across the surface of the crack on a band of 50mm.
-Along the sides of the crack length, drill a hole of 14mm diameter with an inclination of 45° and deep enough to cross
the crack section. Then blow-out the dust after drilling.
-Drilling of holes must be alternate on both sides of the crack length with an average distance of 20-30cm
-Install the Drill Packer into the cleaned holes with a spanner, ensuring tightness so as to make sure that no leaks during
injection process. If concrete is loose, then packer shall be sealed with epoxy paste. Then leave to cure.
-On a clean container, mix the two components of epoxy resin with a slow speed electric drill fitted with mixing paddle until a homogeneous mixture is achieved.
-Pour the mixture of epoxy resin onto the Tank of the Injection Pump ready to inject.
-On initial injection process, pump out the few drops of material on a separate container so as to make sure material is oozing from the nozzle properly.
-Start injecting at the lowest packer of the crack length, while leaving the above packer open.
-Continue injecting until the epoxy begins to ooze out of the packer above it.
-Then transfer the injection pump to the next packer and continue the injection process until all the crack length is filled with epoxy resin.
-Leave the epoxy injection resin to cure as per the curing time (at least 48 hours).
-Once the injected epoxy has been fully cured, remove the packer and the sealant with an angle grinder.




I have noticed you don’t monetize your website, don’t waste
your traffic, you can earn additional cash every month
because you’ve got high quality content. If you want to know how
to make extra money, search for: Mrdalekjd methods for $$$